Marine Division
How Richard Fraser built his Arthur Piver
Mariner 25' Trimaran in the 1960's - a
treasured photo adventure
|
FRASER AERO TECHNOLOGY COMPANY
|
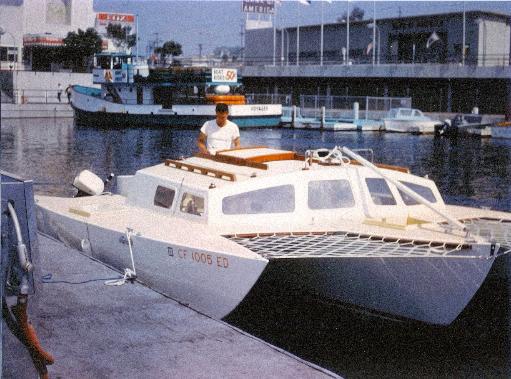
In July of 1965, Richard started to built his first boat. It was an Arthur
Piver designed Trimaran sail boat that was called a "Mariner" with a
length of 25 feet and beam of 15 feet.
Richard is fortunate that he kept a photo log of the progress that was
made over the four year building period. And, yes I (Richard) said it
took four years......for those who want to build a boat. Most quit before
that time, but for those who preserver, the time is rewarding. Richard
also credits the Kodak Film Company for manufacturing a good
quality photo film that was able to keep it's colors somewhat fresh
over these past 47 years. And, for the good little camera that took the
pictures and the persistent use of the Kodak printing paper which
was used. Without these things, the photos probably would have
been lost.
The building address was 834 N. Francisca Avenue in Redondo
Beach, Ca. Other well known builders used this address as well. After
47 years and now at the age of 75 years, Richard is collecting his
memory of the facts and ingenuity that transpired back in those days.
This location is being completely renovated today. Review some of
the photos for a historical reference because the address is no longer
there.
These photos bring back great memories, not only of the boat, but the
experienced people who helped when you had a question or two or
three or four.
|
|
Click on the
photos to
enlarge
To begin with, the trimaran was built using quality ABX (smooth, good both sides) exterior fir plywood
skins held in place by using water mixed powdered urea/formaldehyde resin glue (available at that time)
and boat bronze ring nails......lots of them, with Polyester resin and 6 ounce glass cloth sheathing. The
Epoxys were not around at that time. Epoxy paints were just introduced, but we used good quality
topside and below waterline anti-fouling yacht paints. I cannot remember the brand name but it was not
Interlux, which was also available then. All fir plywood skins were scarfed together...not butted, providing
the strongest 100% through water proof joint bond.
Most of the boat frames were fabricated at home per Pivers drawings. That saved a lot of time so it was
easy to fit them onto the building jigs that are shown in the photos. Their shapes proved to be accurate
and fair when we started installing the chines and stringers. Arthur, or who ever did Pivers drawings did
a good job.
The time line given by the photo dates gives some information as how long each portion of the building
took. One must remember though, that work was generally done on weekends and holidays. Richard still
worked in the aircraft and Aerospace Industry full time as a Laboratory Design Engineer at that time.
|
|
|
|
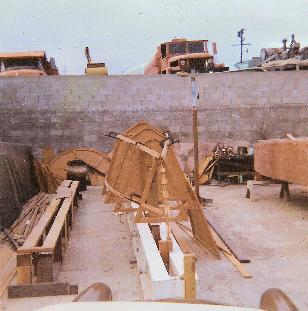
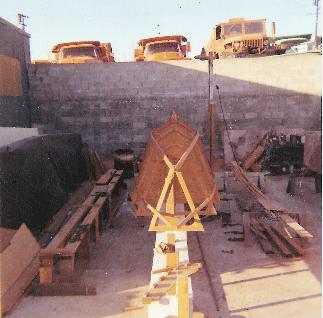
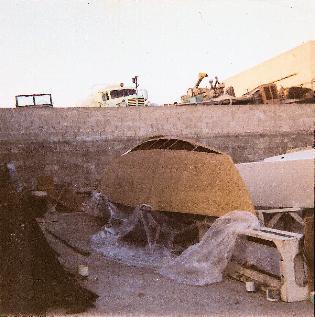
Photo Number 1 - This was the
start....47 years ago. Photo was
taken July 1965.
|
|
Click on the
photos to
enlarge
|
|
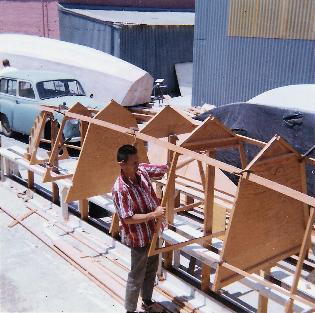
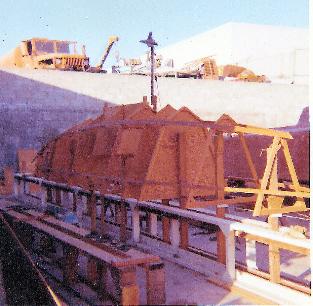
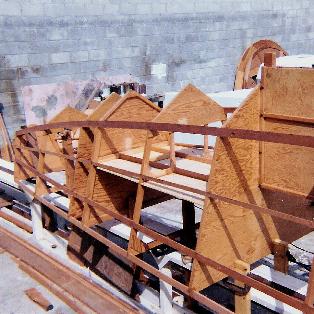
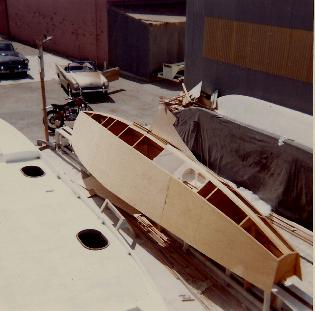
Photo Number 2 - Fitting all the
frames and bulkheads in place.
Richard was totally unaware at
this point in time that it would be
4 years before this boat would
be finished.
|
|
|
|
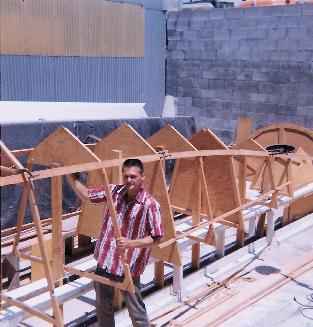
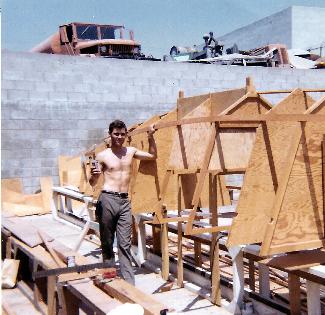
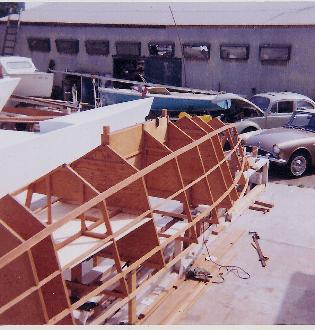
Photo Number 3 - More fitting of
frames and bulkheads. Note the
chalk line just above the white
painted lower part of the building
jig. This allowed for straight
hull centerlines.
|
|
|
|
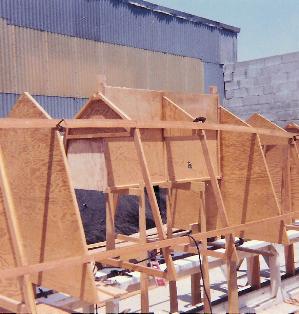
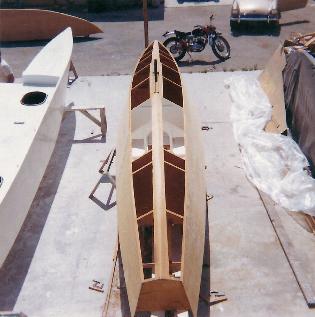
Photo Number 4 - More fitting of
frames and bulkheads. Bow view.
|
|
|
|
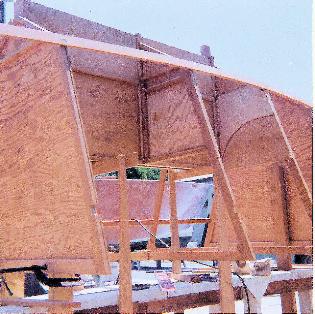
Photo Number 5 - Centerboard
trunk fabricated and fitted in
place. Photo was taken
Aug. 1965.
|
|
|
|
Photo Number 6 - Stephen (Steve)
- Richard's brother. A helper is
always welcome. A better photo
of the centerboard trunk.
|
|
|
|
Photo Number 8 - Centerboard
trunk, starboard side.
|
|
|
|
Photo Number 7 - Cockpit floor
installed upside down.
Centerboard trunk shown on the
right
|
|
|
|
Photo Number 10 - Centerboard
trunk, port side. Photo Number 9
omitted.
|
|
|
|
Photo Number 11 - Centerboard
trunk, cockpit floor, stringers and
chines atached. August 1965
|
|
|
|
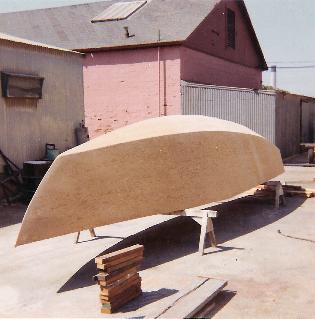
Photo Number 12 - Hull is
skinned with solid fir keel
attached.
|
|
|
|
Photo Number 13 - Rain.
October 1965
|
|
|
|
Photo Number 15 - Hull is
skinned with scarf joints and solid
fir keel attached. Photo 14
omitted.
|
|
|
|
Photo Number 16 - A Joseph
Dobler 30' (or 32')Tri being built
|
|
|
|
Photo Number 18 - Hull is
finished, sanded and ready for
fiberglass cloth. Photo 17 omitted.
|
|
|
|
Photo Number 19 - Frank
Sasine's shop - October 1965
|
|
|
|
Photo Number 26 - Cuprinol
green wood preservative added.
|
|
|
|
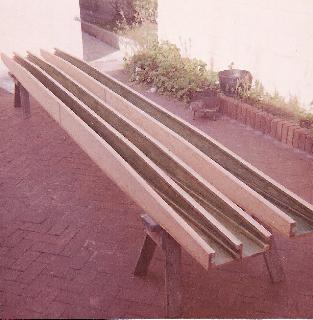
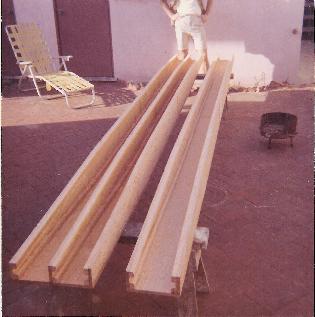
arms mostly assembled from 1/2" AA
(smooth both sides) Marine grade fir
plywood. Photos 19 through 24
omitted. Feburary 1966.
|
|
Page 1
Copyright © 2000- 2014 by Richard W. Fraser All Rights Reserved
|
Click on arrow to go to next page number 2
There are 6 total pages to this photo adventure.
Click on arrow to go to the last page 6

